
Mechanic Legends Car Repair and Workshop Equipment Guide
Last updated:
Car repair in Mechanic Legends starts with identifying the affected part. Bring your car to the Workshop, inspect it with the Wrench, and choose the treatment that matches its condition.
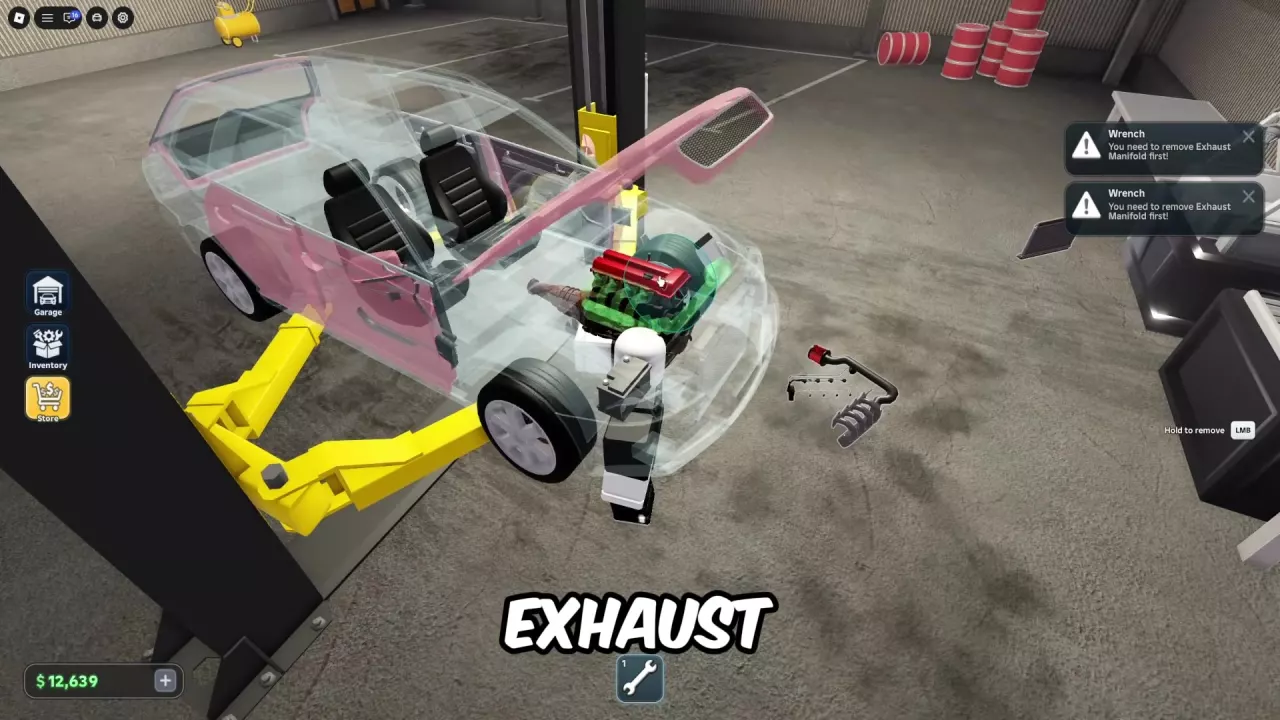
Use the Battery Charger for a depleted battery, the Ultrasonic Cleaner for rusty parts, and the Part Polisher for wear and damage. Replace missing parts with matching components and take body rust to the Paint Shop. Park on the lift, exit with F, and press E at its control to raise the car. Use the Wrench to remove parts, follow any named assembly prerequisites, reinstall everything, and press Q at the lift control to lower the car.
Match the Problem to the Tool
The Workshop provides equipment for supporting the car and treating removed parts. Use the equipment and tool entries below to match each job to its purpose.
Two problems need a different approach:
- Missing parts: Install replacements that match the current engine or the vehicle model specified on the part.
- Body rust: Take the car to the Paint Shop for body treatment.
-
Wrench
- Purpose
- Inspect, remove and install vehicle parts, including wheels.
-
Car Lift
- Purpose
- Raise and lower the vehicle for repair work.
-
Battery Charger
- Purpose
- Recharge depleted batteries.
-
Ultrasonic Cleaner
- Purpose
- Remove rust from detached parts.
-
Part Polisher
- Purpose
- Treat wear and damage on detached parts.
Position, Raise and Inspect the Car
- Drive the car onto the Workshop lift.
- Press F to leave the vehicle.
- Use E at the lift control to raise the car.
- Open the hood and equip the Wrench.
- Aim at individual components to inspect their condition and identify what needs treatment or replacement.
Wheel removal requires a lift or jackstands. Support the car before attempting to remove a wheel; the wheel and rim guide covers the tire and rim work that follows.
The Portable Jackstand benefit lets you place a stand anywhere to work on your car. See the game pass comparison if you want to weigh that convenience against the other paid benefits.
Remove and Reinstall Parts with the Wrench
- Equip the Wrench, aim at the part, and hold the left mouse button to remove it.
- If removal is blocked, read the named prerequisite. When the prompt requires the Exhaust Manifold to come off first, remove it and then return to the blocked component.
- Treat the removed part or obtain a compatible replacement.
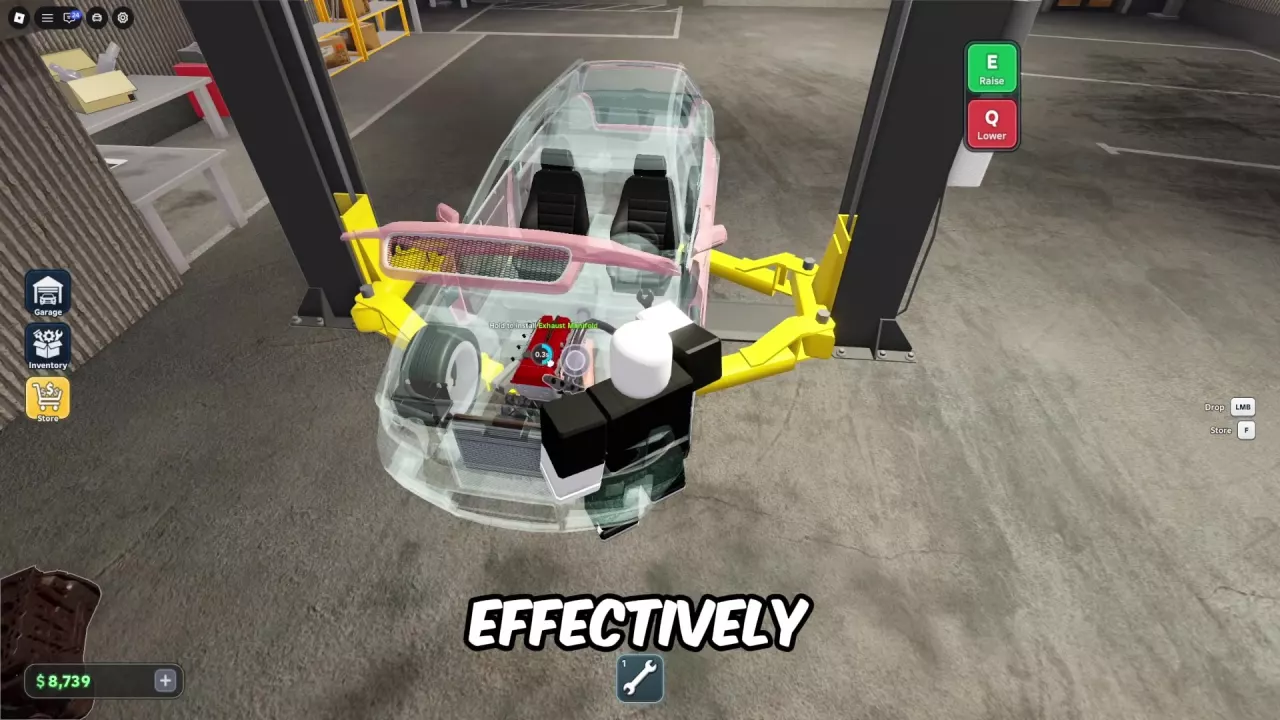
- Carry the part to its mounting position and hold the installation control. Battery and Exhaust Manifold installations use the left mouse button.
- Resolve any installation prerequisites, then reinstall the remaining parts. Close the hood and use Q at the lift control to lower the car.
Read the blocked-action prompt
| Prompt | What to do |
|---|---|
| The part does not fit the current engine | Select a part labeled for the engine currently installed. Use the engine-model filter in Parts Direct or Part Store and check the selected item's label. |
| Another part must be removed first | Remove the named component, then retry the original removal. |
| Another part must be installed first | Fit the named component, then return to the blocked installation. |
Installing the 1.6L Inline-4 Exhaust Manifold
When the installation prompt requires the Valve Cover, fit the Valve Cover first. Then carry the 1.6L Inline-4 Exhaust Manifold to its mounting point and hold the left mouse button to install it.
A different assembly prompt can require the Exhaust Manifold itself before another component can be installed. Follow the prerequisite named for the action you are performing; these dependencies apply to the specific part and assembly.
Repair, Replace or Treat the Body
Choose treatment from the part's condition rather than replacing every component you remove.
- Depleted battery: Recharge the removed battery and reinstall it. Follow the battery charging steps for the complete procedure.
- Rust and wear on the same part: Use both treatments where needed. Cleaning removes rust, while polishing treats wear and damage. The Radiator tutorial sends the cleaned Radiator to the Part Polisher afterward. Follow the cleaning and polishing guide for the sequence and the device's “fully repaired” message.
- Missing or badly worn parts: Replace missing components, and consider replacements for parts in poor condition. For a 1.6L Inline-4 repair, replacing a badly worn Block and Exhaust Manifold while polishing other components is a practical mixed approach. Choose according to each part's condition and your replacement budget. The parts ordering guide covers model selection, delivery, and finding purchases in Your Parts.
- Rust on the car body: Use the Paint Shop's body-rust and repainting process.
If the car still has no power, reports missing engine parts, or enters limp mode after reassembly, follow the engine problem diagnosis guide for the specific message.